

Valid TLS certificates are nowadays essential for web servers, e-mail servers, etc. Thanks to the Let's Encrypt initiative it is fairly simple and free of charge to get such a valid and widely accepted certificate.
Prerequisites
Let's Encrypt is a free, automated, and open certificate authority by the nonprofit Internet Security Research Group (ISRG). You can find more details about Let's Encrypt on the web site Let's Encrypt (letsencrypt.org).
The system I used for this install is Ubuntu Linux 24.04. For other versions of Linux you may need adapt some of the steps.
At this point, you need to have an NGINX web server installed and running. If you are new to NGINX and need to install from scratch, refer to this article: Install & Run an NGINX Web Server on Ubuntu Linux.
Check your firewall settings and make sure that the server ports 80 and 443 are open.
I tried to install acme.sh script and certificates with the standard user Ubuntu or sudo but had several issues to get certificates assigned.
Therefore we switch to root mode and start the install from there:
sudo -i
Install acme.sh Script for Let's Encrypt
There are many clients available to obtain a certificate from Let's Encrypt, you can find a list here: ACME Client Implementations - Let's Encrypt (letsencrypt.org).
We use the option to obtain the certificates from Let's Encrypt by acme.sh script. Compared to its counterparts, such as the popular Certbot, it is much more lightweight on the system and has the ability to be customised. As it’s a shell script, the dependencies are minimal.
acme.sh can be run in NGINX mode and configures NGINX so that Let's Encrypt can verify the domains. Basically, acme.sh is an ACME protocol client written in shell script. As the bare minimum, it supports issuing a new certificate from Let's Enycrypt or from other Certificate Authorities (CA) and automatically renewing it with a cron job.
The installation of acme.sh does require to run a "installer" script in the shell of the Linux system. You find the installation script on the web page https://get.acme.sh.
Note: It is a certain risk to run scripts and to pipe it into your console without knowing the details of what the script does. Therefore, always check the details of the script and replicate what it does, as somebody may have tampered with the web site containing the script: Click on https://get.acme.sh and check the script for any suspicious behaviour.
cd

curl https://get.acme.sh | sh
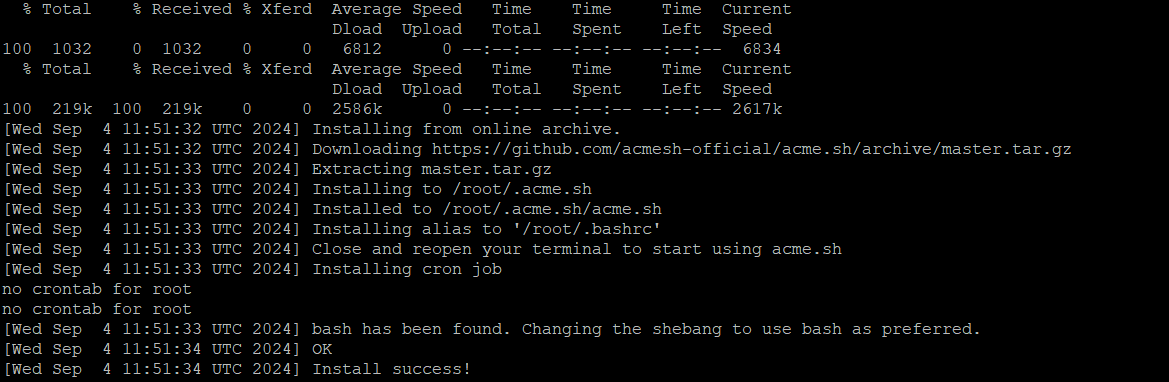
Now you need to reload the shell profile to make the acme.sh command available:
source ~/.profileYou can check the crontab change with:
crontab -e
![]()
Here, it schedules to run the script every day at 03:33. As per documentation this job will be checking if the certificate needs renewal. It will trigger a renewal only when the certificate is about to expire.
If you check the home directory of the user, you see that directory .acme.sh exists. This contains the acme.sh script files.
To verify if acme.sh is responding and get the current version number, issue the command:
acme.sh --version
You should see the version of the installed script printed out.
You can enable auto-upgrade of the acme.sh script with the command:
acme.sh --upgrade --auto-upgrade
The acme.sh script supports several certificate authorities. Per default acme.sh uses zeroSSL.com. You can use parameter --server with acme.sh calls to use a different certificate authority. You can find a list of supported certificate authorities here: Server · acmesh-official/acme.sh Wiki · GitHub.
We want to use Let's Encrypt and we can make Let's Enrypt the default:
acme.sh --set-default-ca --server letsencrypt
The acme.sh should be ready now.
Register an Account
Next step is to register an account and provide the e-mail address:
acme.sh --register-account --server letsencrypt -mThis email address is being protected from spambots. You need JavaScript enabled to view it.
Prepare Directories to Store Certificates
We need to decide about an appropriate place to store the certificates. Let's store them in a folder /etc/letsencrypt/.
Create the directory /etc/acme.sh/domain.tld:
sudo mkdir -p /etc/acme.sh/domain.tld
Request & Install Certificates
Request a certificate for the domain www.domain.tld and domain.tld:
acme.sh --issue --nginx -d domain.tld -d www.domain.tld -d ww2.domain.tld
With parameter -d you define the domains you would like to have a certificate requested for. As in the example above, you can use multiple domains with parameter -d.
Parameter --nginx makes acme.sh to use the NGINX mode, there are other options available, too.
The certificates are stored in the home directory of the current user: ~/.acme.sh/ in a sub-folder of the specific domain (of the domain name mentioned with the first -d parameter). When successfully created, acme.sh shows the names of the files and their full path.
Install the certificates into directory /etc/acme.sh/domain.tld:
acme.sh --install-cert -d domain.tld \
    --key-file       /etc/acme.sh/domain.tld/privkey.pem \
    --fullchain-file /etc/acme.sh/domain.tld/fullchain.pem \
    --reloadcmd     "systemctl reload nginx;"
Active certificates are now installed in path /etc/acme.sh/domain.tld/.
Now you can change the NGINX configuration file under /etc/nginx/sites-available/domain.tld to activate SSL and use the certificates.
