

This article explains how we install an Apache Web Server on our Ubuntu Linux based cloud instance.
Be aware that this description is specifically for our AIRIX.NET infrastructure and AIRIX.NET internal. It is not suitable for absolute beginners.
Prerequisites
Starting point is a installed and running base server on Ubuntu Linux as described in article Setup Your Own Base Server with Ubuntu Linux.
In addition you need Secure Shell (SSH) access to the server with a non-root user with sudo priviliges and you need basic Linux command line knowledge.
Introduction
The Apache Web Server is one of the longest established and very reliable Web Servers on the market. For AIRIX.NET this is now our preferred server for the web sites we run. The Apache Web Server is included as a package in Ubuntu and available free of charge.
Installing Apache Web Server
To install the Apache Web Server go to the console and run:
sudo apt update

sudo apt install apache2
After letting the apt install command run, all required packages are installed.
To check if the install was successful, open a browser and and type the IP address of the server:
http://server_ip
Do not forget to replace server_ip with the IP address of the server and use unsecured http (and not https)!
Now the default page It Works! should be displayed in the browser:
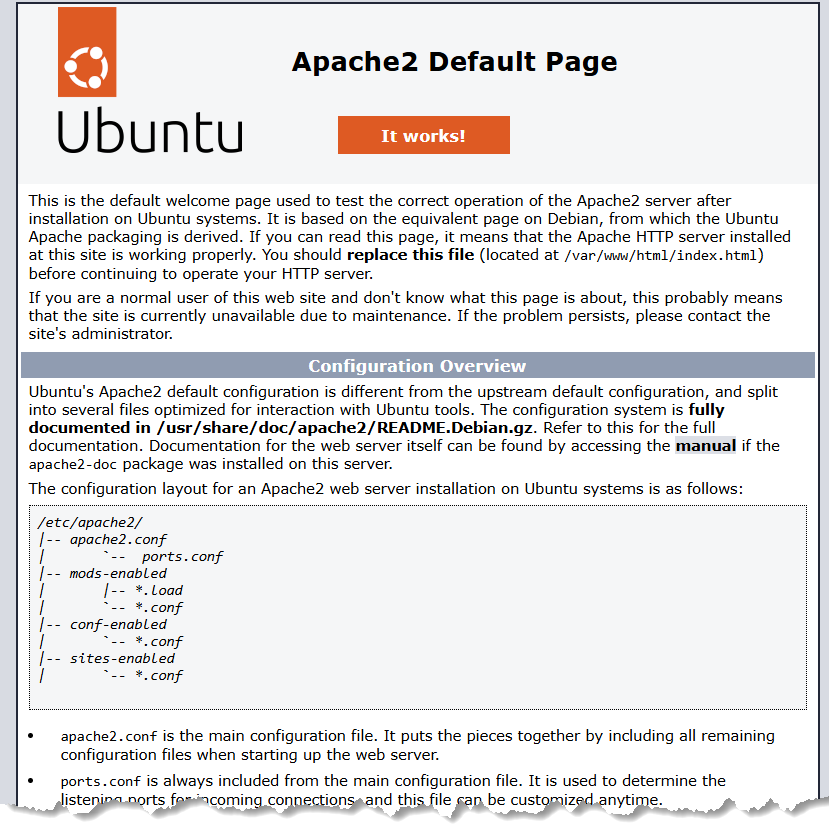
If you see this page, it means that Apache Web Server has been successfully installed on the server!
In case this page cannot be reached, check the Firewall first and ensure that the port 80 for http is open.
Web Site Files
Per default the each web site's files (e.g. .html files, etc.) are stored under path /var/www. The example web page It Works! finds its data under /var/www/html.
By using the technology of Virtual Hosts you can run multiple independent web sites with one single Apache Web Server running on one Ubuntu server.
It makes sense to create appropriate subfolders in /var/www/ for each virtual host you plan to configure. Example: /var/www/yourdomain.tld.
As per best practice we create an additional subfolder for each subdomain, i.e. for a subdomain named www we create /var/www/yourdomain.tld/www.
For testing purposes, you can create a simple index.html test file using nano editor in your web site file directory:
sudo nano index.html
Contents of the file as per below or anything else that suits you:
This is www.yourdomain.tld - Test successful!
VirtualHost Configuration File
The VirtualHost configurations files are stored in folder /etc/apache2/sites-available/.
After install, this folder contains the default configuration file 000-default.conf and default-ssl.conf. The file 000-default.conf defines the default access to the initial It Works! page whereas the file default-ssl.conf is the default to configure a proper secure SSL web site.
For your future web site you probably need a combination of the distributed set ups in one single configuration file.
The best practice approach is to create separate virtual host configuration files for each domain although Apache allows multiple virtual hosts in one single configuration file.
For a first test you may want to start with a simple configuration based on 000-default.conf.
Copy the default file to a site specific configuration file, e.g. for yourdomain.com:
cp 000-default.conf yourdomain.conf
and edit the new file and configure it properly using nano editor, example:
<VirtualHost *:80>
        # The ServerName directive sets the request scheme, hostname and port that
        # the server uses to identify itself. This is used when creating
        # redirection URLs. In the context of virtual hosts, the ServerName
        # specifies what hostname must appear in the request's Host: header to
        # match this virtual host. For the default virtual host (this file) this
        # value is not decisive as it is used as a last resort host regardless.
        # However, you must set it for any further virtual host explicitly.
        #ServerName www.example.com

        ServerName www.yourdomain.tld
        ServerAdmin webmaster@localhost
        DocumentRoot /var/www/yourdomain.tld/www

        # Available loglevels: trace8, ..., trace1, debug, info, notice, warn,
        # error, crit, alert, emerg.
        # It is also possible to configure the loglevel for particular
        # modules, e.g.
        #LogLevel info ssl:warn

        ErrorLog ${APACHE_LOG_DIR}/error.log
        CustomLog ${APACHE_LOG_DIR}/access.log combined

        # For most configuration files from conf-available/, which are
        # enabled or disabled at a global level, it is possible to
        # include a line for only one particular virtual host. For example the
        # following line enables the CGI configuration for this host only
        # after it has been globally disabled with "a2disconf".
        #Include conf-available/serve-cgi-bin.conf
</VirtualHost>
Now you have created the data of your web site (the simple line included in index.html) and the configuration file for the virtual host of your domain. Make sure to update the line saying DocumentRoot with the path of your subdomain + domain (path to the file that includes your index.html file) and to add the ServerName line with the full domain name (i.e. subdomain plus domain and top level domain) of your site.
Next step is to activate the VirtualHost configuration.
Activation and Deactivation of VirtualHost configuration
Activate
After setting up the web site and defining the configuration file as needed, the virtual hosts configuration needs to be activated:
sudo a2ensite yourdomain.conf
Test the Configuration
sudo apache2ctl configtest
Load the new configuration
To load the new configuration into Apache:
sudo systemctl reload apache2
Test Run
For the test run you need to configure the DNS entries for your domain name (to be done on the configuration site of your domain name provider) and ensure that the subdomain entry is attached to your server's IPv4 (and potentially IPv6) addresses:
Create an A record with your domain www.yourdomain pointing to your server's public IP address.
Depending on the TTL value (Time to Live) it may take some time until this change will become effective in the recursive resolvers. This TTL value is also configured at your domain name provider's configuration site (you should be able to look up its current value and know then how long you may need to wait before your update becomes effective in the resolver's caches).
For the test run itself, type your domain name into the browser's address field (ensure to just use http: and not https: for now):
http://www.yourdomain.tld
You should now see whatever text you entered into your index.html file, example:
This is www.yourdomain.tld - Test successful!
Success?! Let's Continue
With all the configuration done, you now have an up and running Apache Web Server and you could start adding HTML files to your Web Site's DocumentRoot folder. One significant limitation is that the server currently only handles unencrypted web sites: It can do http: only and not https:
This is outdated today and the next step is to enable https: on the Apache Web Server. To continue, refer to the article Secure Apache Web Sites with Let's Encrypt.
What you also should do is to update the fail2ban settings and activate jails for the Apache Web Server: Intrusion prevention with Fail2Ban.
Related articles
